I’ve figured out how to bake gluten free challah using Blends by Orly Gluten Free Challah Mix.
I never thought I’d be doing this as I was used to buying ready-baked challah from a kosher bakery. However, once I developed celiac and could no longer eat regular yeast dough, my husband found a bakery that specialized in kosher ready-made challah. Turns out, unfortunately, that in order to say Hamotzi (the blessing over bread), the challah needs to contain oat flour as that’s one of the grains mentioned in the Bible. We found another bakery that provides that type of oat challah. Unfortunately, I didn’t like the taste. Hence the endeavor to bake my own.
Gluten-free yeast dough is a particular challenge.
I didn’t want to get all fancy making my own version using a myriad of ingredients, so I tried Blends by Orly Gluten Free Challah Mix. It is kosher and has the requisite amount of oat flour for Hamotzi. The first time I tried it, I followed the recipe on the package, but the challah came out like a brick.
Then I thought to myself: I do know how to make you yeast dough! It seemed to me that the rising times on the package recipe (which are actually not called rising times there) are way too short.
 So I tried this mix again, employing my way of making regular yeast dough, to see what would happen.
It turned out much better! I’m going to share how I used Orly’s raisin mix to make sweet challah for the upcoming holiday of Rosh Hashana.
Making yeast dough is actually easy, in my opinion. I’ve made it my whole life. It just takes time.
Orly also offers a traditional challah mix and a chocolate chip mix. My husband likes the chocolate chip one best. If you want to make a more traditional Challah, sprinkled with poppy or sesame seeds, the traditional mix is good. We tried all three and all three work well with my way of doing this. Here goes:
Ingredients:
1 packet of dry yeast
1/4 cup of oil (I use canola oil.)
1 large egg
2 egg yolks
1 cup plus one tablespoon of warm water
1 extra egg for egg wash
cooking spray or oil for greasing the pan
parchment paper
baking brush
Some gluten-free flour for your working surface (I use King Arthur’s Measure for Measure.).
If you are making challah for Rosh Hashana, you also need a round baking form. (I actually ended up using my metal frying pan.) For regular challah, you can use loaf pans. I’ve also made nice braided challah on a baking sheet lined with parchment paper.
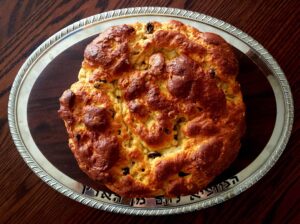
The recipe yields either one big round challah as shown in above image, or it will yield two braided loaves. You can also make a bunch of smaller rolls.
You also need a small bowl and a large mixing bowl, both of which you can put into a warm oven.
First rising time for the pre-dough:
First you mix the packet of dry yeast, the oil, the egg, the yolks, and the water in the small bowl. I beat this mixture on low with my hand mixer until it started foaming. Then I put it in the oven, which is set to 120 Fahrenheit. In the summer, I cover the pre-dough, and later the dough, with a dish cloth and set it out on the porch to rise in the sun. That was my grandmother’s way of letting yeast dough rise.
Meanwhile, dump the challah mix into the bigger bowl.
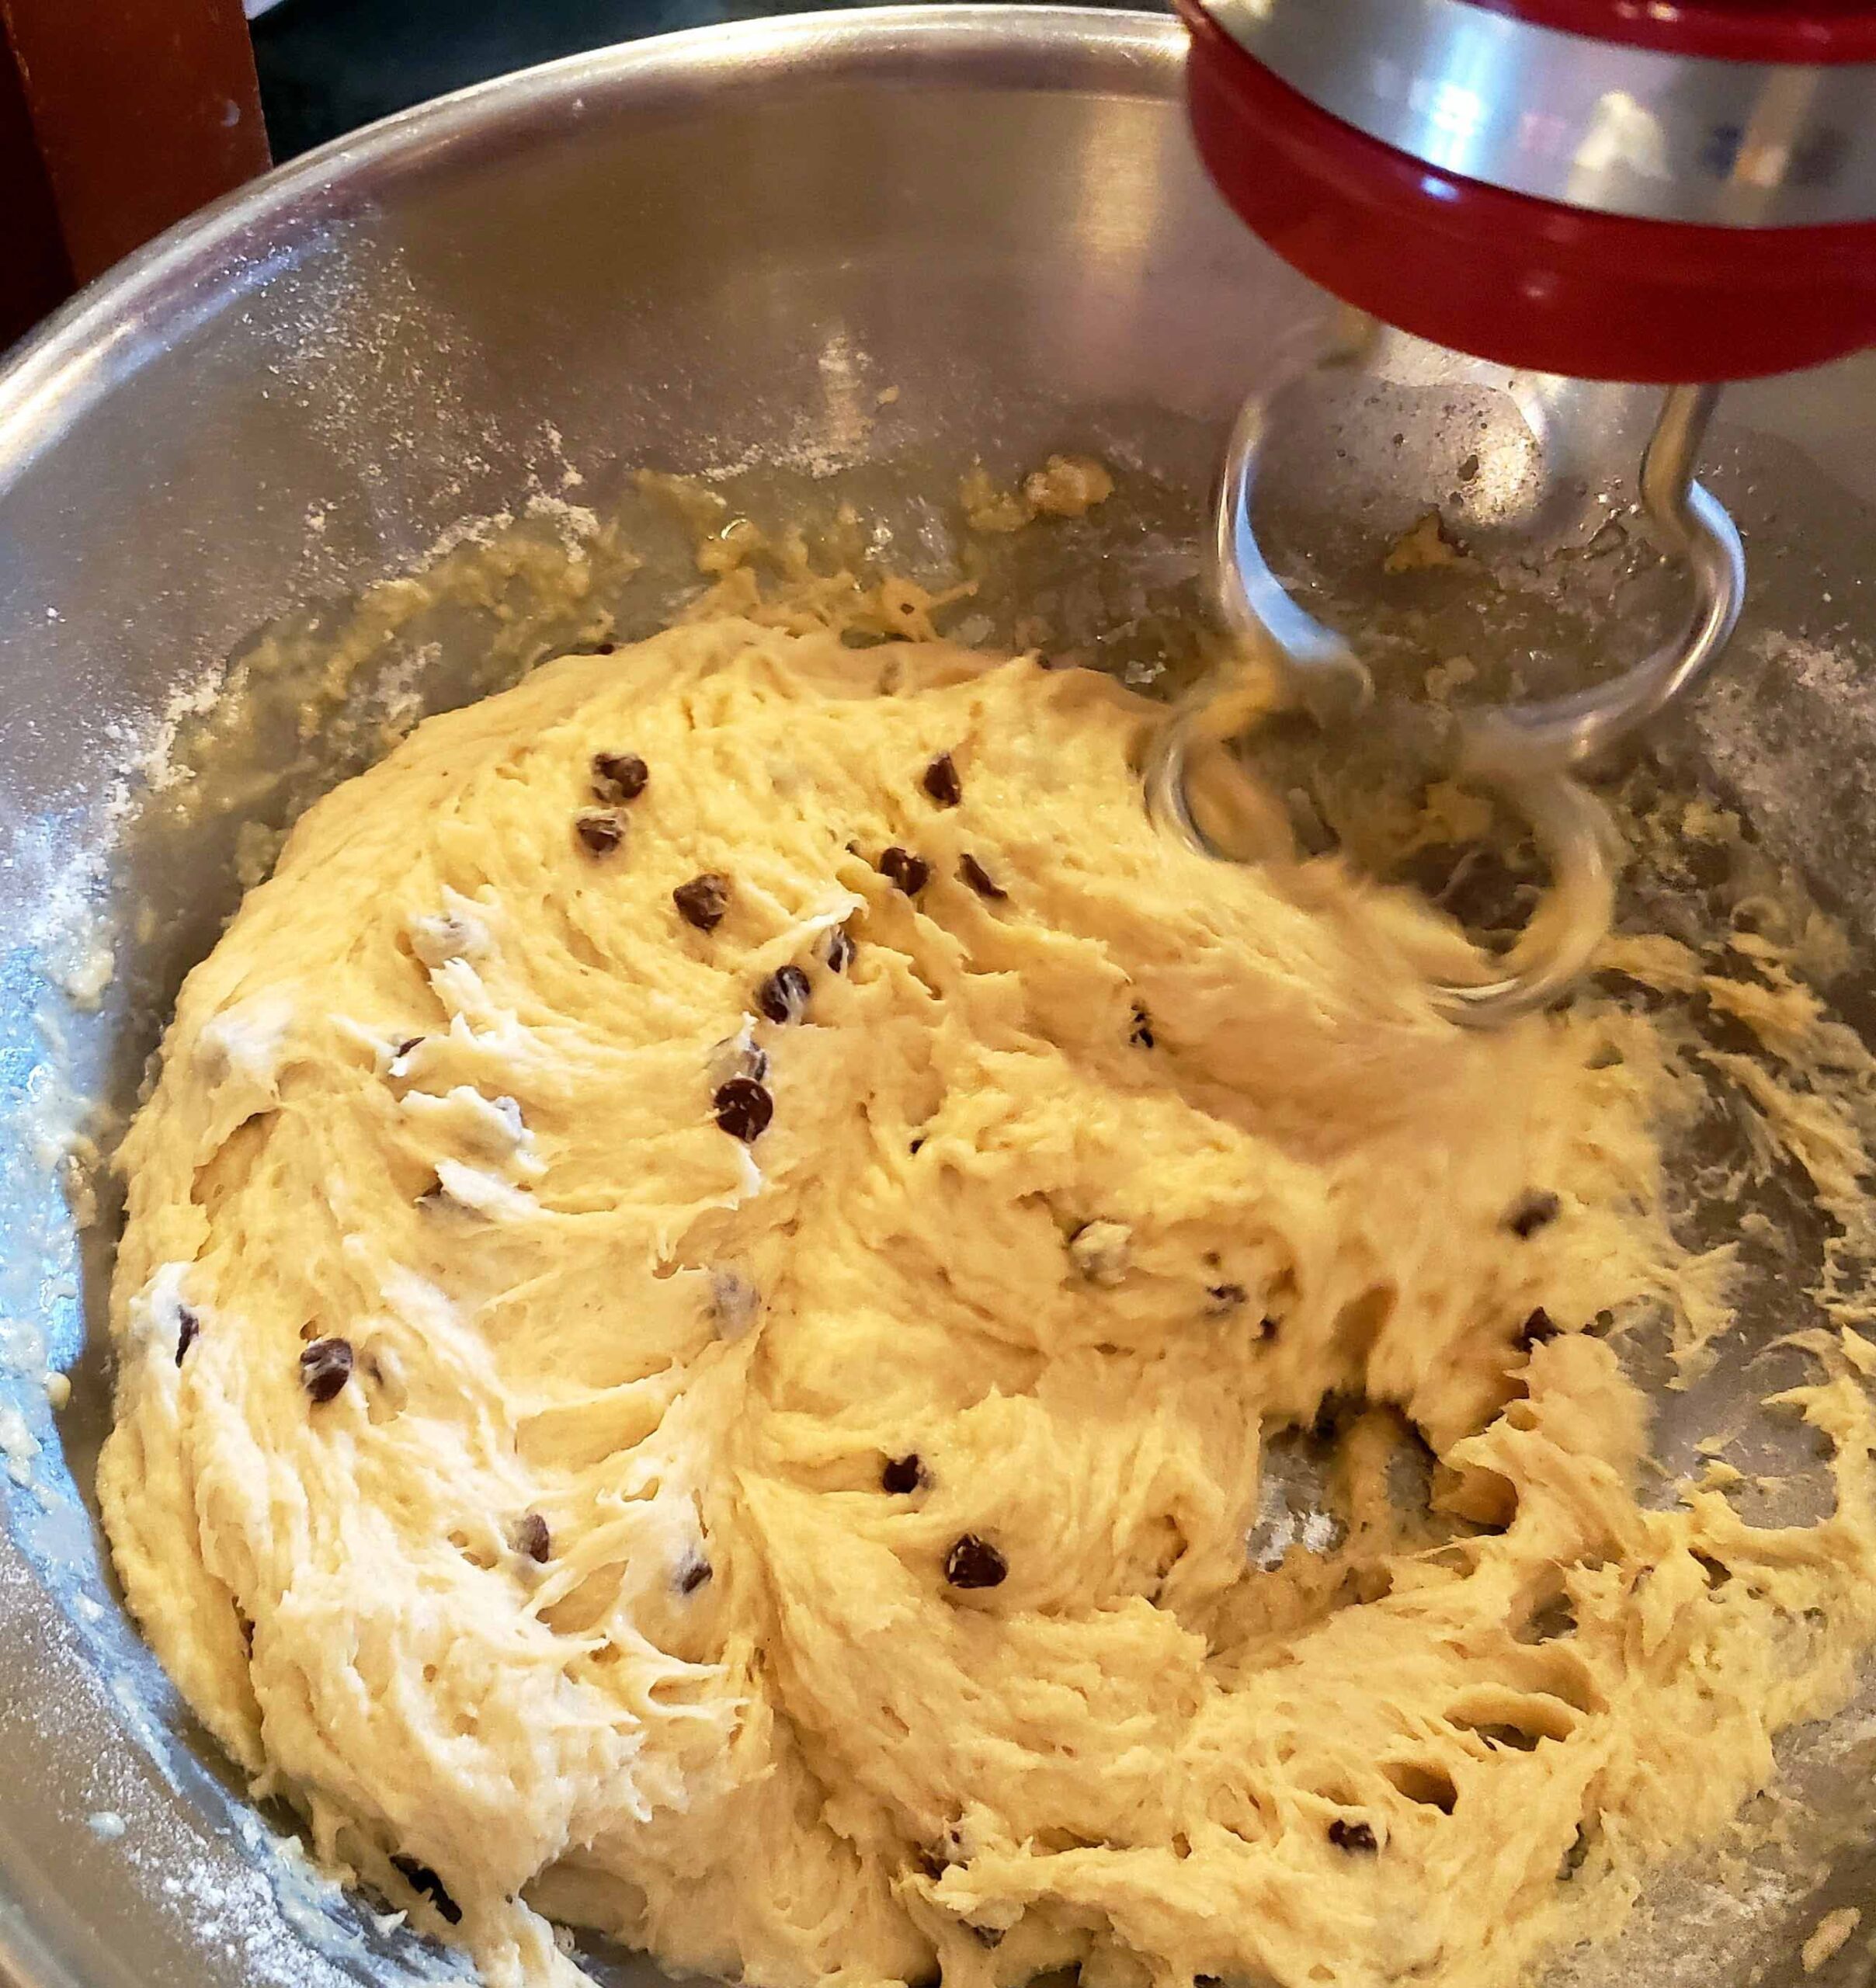
Once the pre-dough has been sitting in a warm spot for about 20 minutes, it should show some frothing on the surface. If it doesn’t, give it a bit more time. Then pour the pre-dough into the bowl with the challah mix and knead it, using dough hooks, on medium speed for about five minutes (see above picture).
It’ll become a firm but sticky dough. After the five minutes, take out the dough hooks and sprinkle the dough with a bit of the gluten-free flour.
Now it’s time to get your hands dirty. Scoop your hands under the dough, grab the whole lump of it, turn it around and the dust the other side with more flour, kneading it a bit until it forms a cohesive, if slightly sticky, dough.
Second rising time:
Now the dough goes into the oven, in the big bowl, for 40 minutes at 120 degrees. You can also put it in a warm but not drafty spot elsewhere. However, don’t put it on a radiator, where it only gets heat from the bottom, which is not a good idea.
While the dough rising, you have time to do other things, but you also want to get your pan ready. I line whatever pan I am using with parchment paper, and then I spray the parchment paper with cooking spray.

After 40 minutes, the dough should have gotten larger. Not by much, but it should be a little bigger than it was before. It should also feel a little lighter, a little fluffier. If it doesn’t, give it more time in the warm spot to rise.
Sprinkle some flour on your work surface. Gather the lump of dough, dusting it with flour if it’s too sticky, and place it on the floured work surface.
For a big, round challah for Rosh Hashana:
Gently form the dough into a roll with your hands. Gluten-free yeast dough doesn’t really require much kneading like regular yeast dough does.
Try to roll it around with your hands so the surface is halfway smooth. This dough tears easily but you want to make it look nice. If there are any raisins or chocolate chips in it, push them in. Once you have created what basically looks like a long, thick sausage of dough, shape it into a snail circle, winding the “sausage” around itself. Slide your hands under this formation, lift it and plop it on the parchment paper-lined pan. Pinch the outside end so that it attaches to whatever side it is close.
That’s it in terms of forming your round challah for Rosh Hashana!
For a braided challah:
Form the dough into a big “sausage” (see above), and cut that into three fairly equal parts. Roll each part into a smaller “sausage,” and then braid those together like you would braid hair. Tuck the ends in and pinch each end so they don’t come loose. Put each braid on a parchment- lined baking sheet or loaf pan.
You can also make two smaller braided challahs using the same procedure, but dividing your big sausage into two parts and then forming three parts from each half.
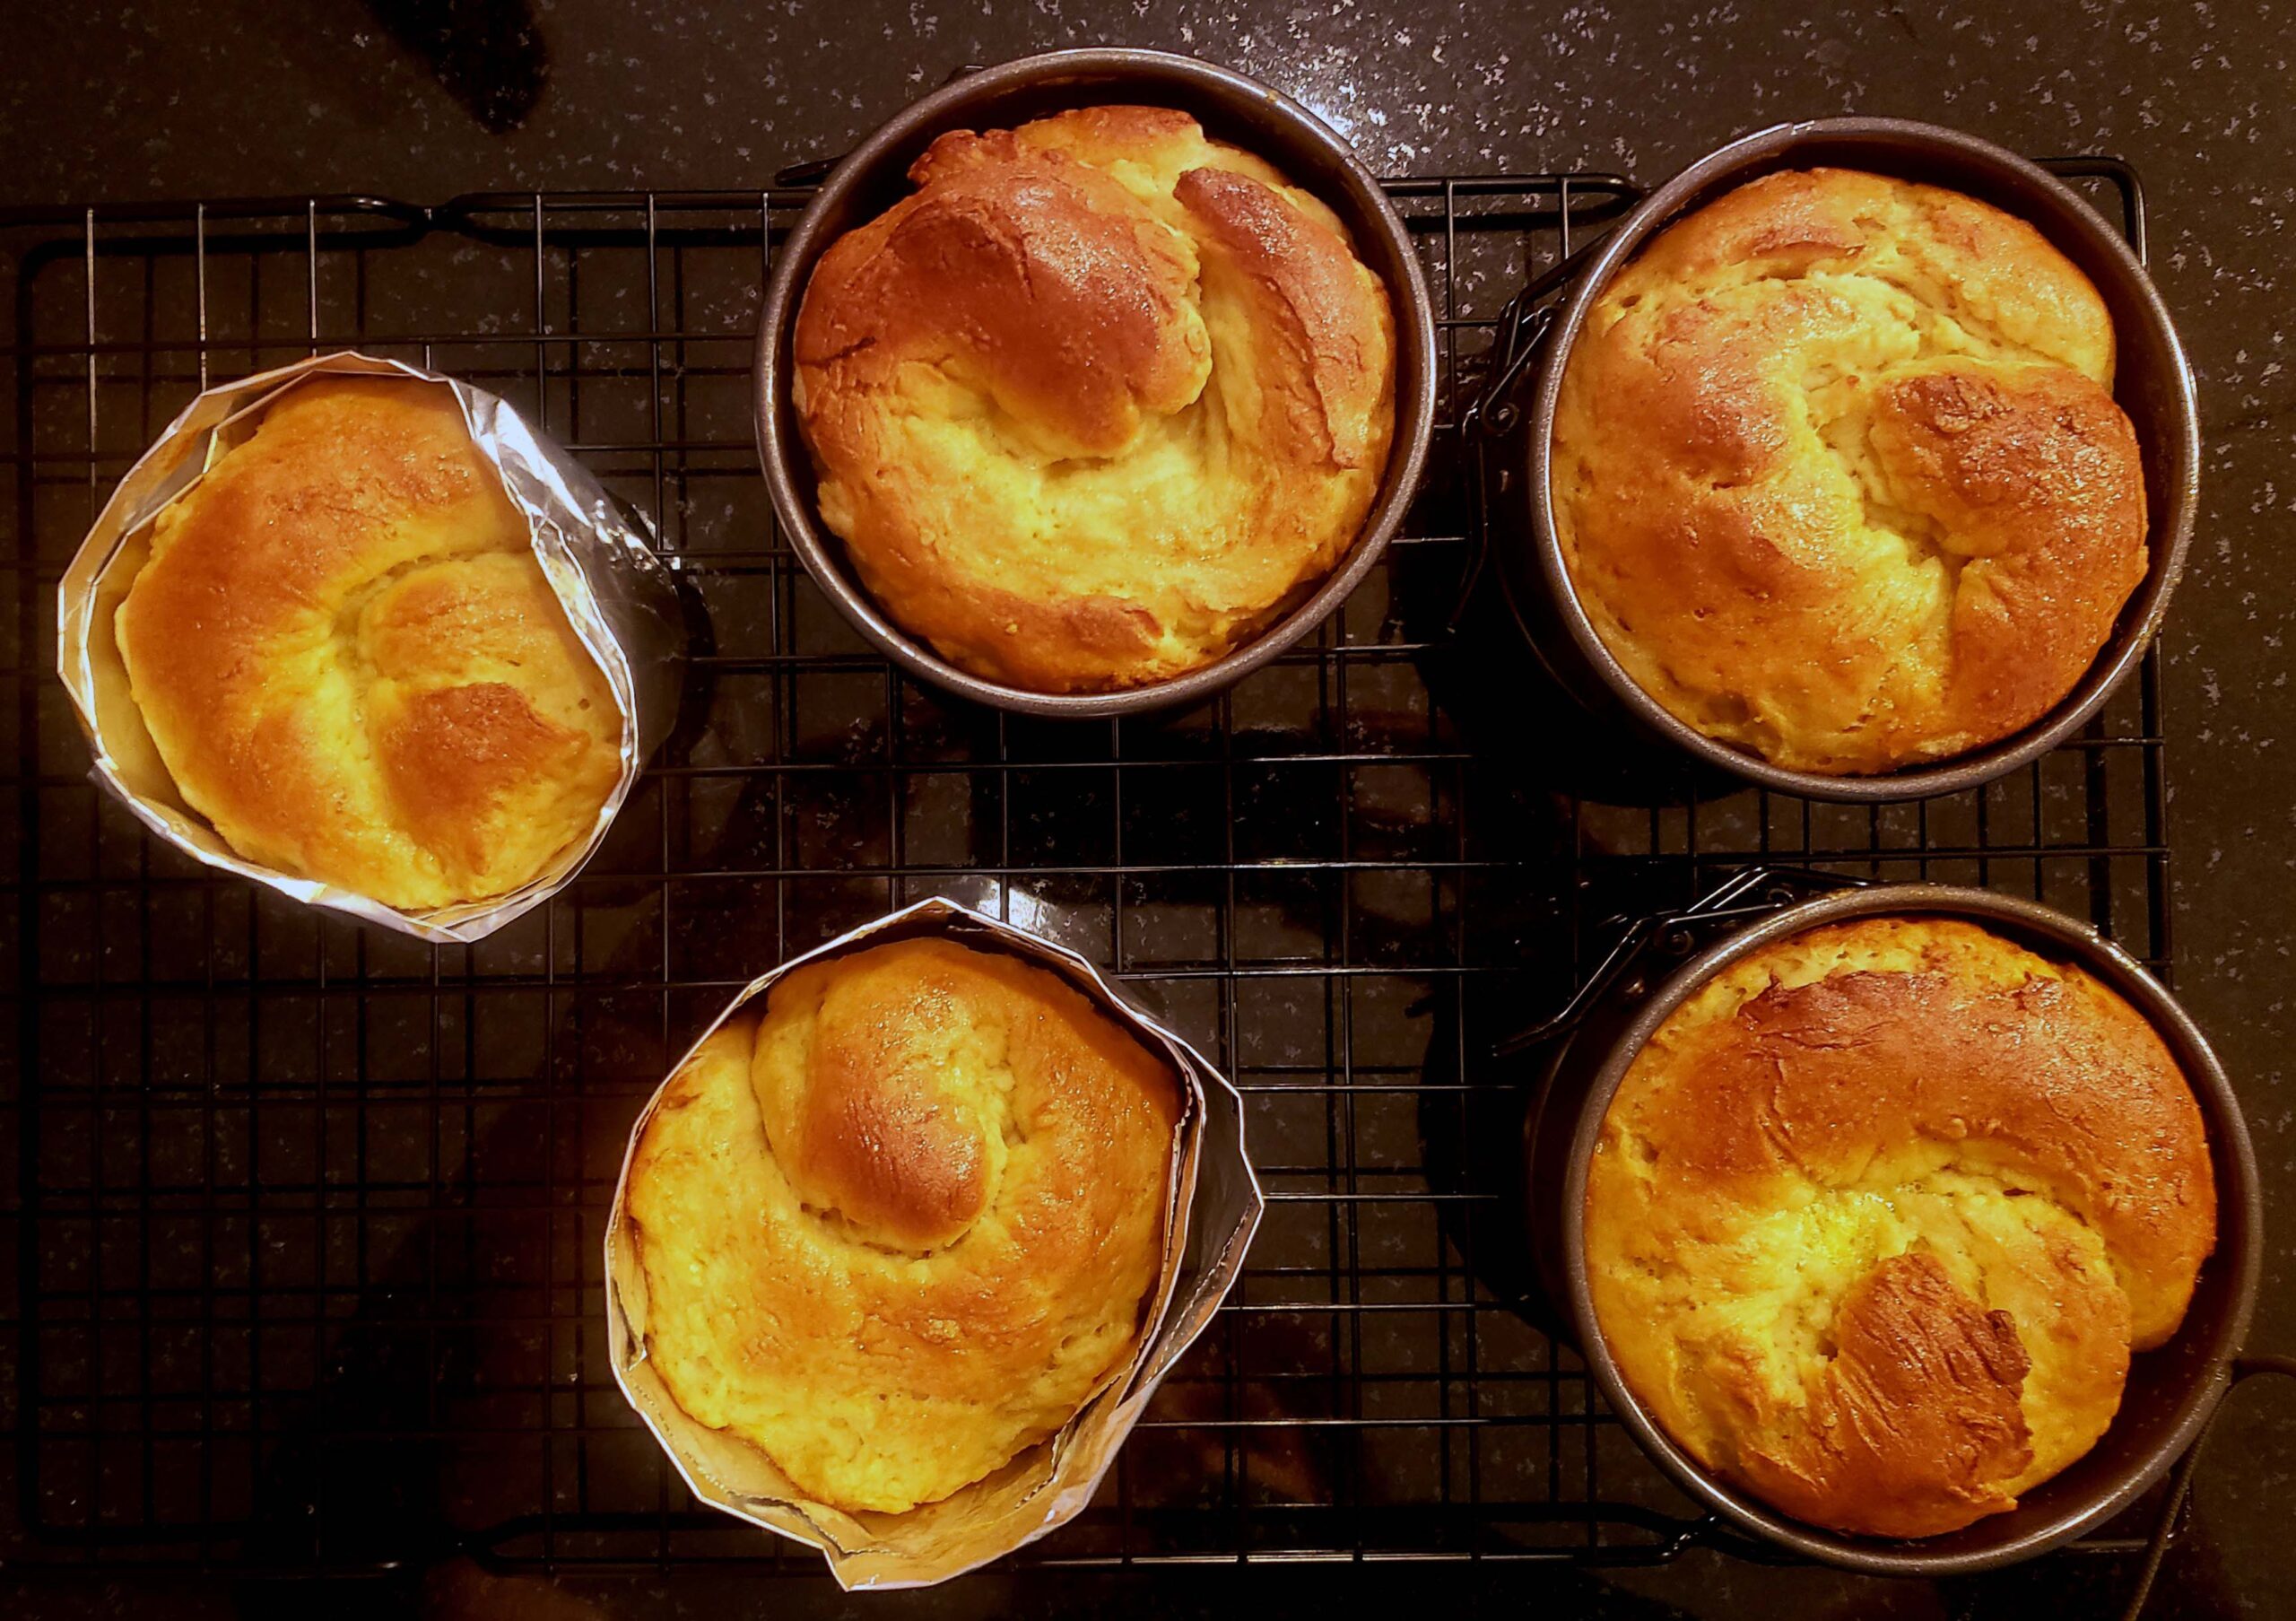
For a bunch of small rolls:
Use the same method: Cut the big dough “sausage” into about six parts, roll each one into a thin roll, wind that roll around itself to create the snail shape and put each into a small spring form, or use strips of aluminum foil to create holding rings (see above) that you place on a parchment-lined baking sheet.
Third rising:
Once you’ve got your challah put together the way you want to have it, put it in the warm oven again, at 120 Fahrenheit. Leave it in there for another 40 minutes, where the challah should again increase slightly in size.
Take it out of the oven and set the oven to heat to 375 degrees.
Egg wash:
In the meantime, beat the remaining egg in a small bowl with a fork or with your hand mixer, so that you get a nice yellow fluid. Brush that egg wash all over the challah–this gives it that nice brown look. If you are making a traditional challah, sprinkle it with sesame seeds or poppy seeds. The egg wash functions like glue for the seeds.
Baking:
Then you put your challah in the oven to bake. If the oven hasn’t preheated to its full 375 degrees, that’s fine, as this gives the challah a little more time to rise as the oven heats up.
Check on the challah often as it bakes.
When the challah has taken on a solid golden brown color, take a toothpick and prick it as far as you can. It’ll be done when the toothpick comes out clean. If there’s any goo on the toothpick, the challah is not done. Leave it in a little bit more, but watch it because it can easily burn.
I only needed to bake the big round challah for 25 minutes. Smaller ones take even less time. Keep in mind that gluten-free items tend to bake quicker.
That’s it! Blends by Orly’s Gluten-Free Challah Mix made my way with much longer rising times.
It’s not like regular challah, I’m not gonna pretend that, but it’s actually really good and airy.
It also freezes well. Give frozen challah time to thaw at room temperature, then put it in the oven before you serve it for about 10 minutes at 350 degrees.
Good luck! If you have any questions, let me know.
It’s possible I’ve had that before.